I love making hand made cards for people. They’re a great opportunity to try out various art techniques, and they are a wonderful way to give joy to others, which in turn gives me joy.
ow that I’m a parent, I try to share that love with my daughter. Besides being an art activity and a giving opportunity, it also has the benefit of giving my daughter some great writing practice. (See my post Art of the Pencil – Learning to Write & Draw).
This activity goes well with the book “The Hundred Dresses”. (See The Hundred Dresses – Teaching Kids About Bullying). The opposite of bullying is being nice, and a great way to show we care is to send someone a nice homemade card. In the book, Wanda designed 100 dresses on paper, so for our book based activity I wanted to let my daughter try to design dresses as well. If we had bigger sized paper, we might have tried 100 dresses, but for our card, we settled for 16.
Instructions
Here are step by step instructions to make a 4 column, 4 row, paper doll chain with kids, and later use it in our homemade card.
Step 1
- You need two 8.5″ X 11″ sheets of paper. One sheet will end up being just scrap so one sheet can be a cheaper quality paper.


Step 2
- Fold paper in half length-wise.
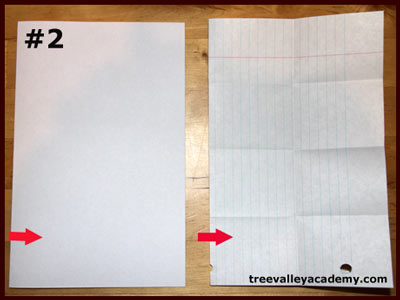

At 5 years old, my daughter is not yet very good at lining up edges when folding. So the scrap paper I pre-folded and then unfolded again, and gave to my daughter. This way it was easy for her to follow along with me as I folded the good quality paper.
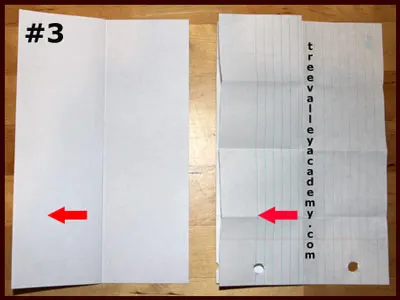
Step 3
- Fold each half (top half and bottom half), in half again, as shown.

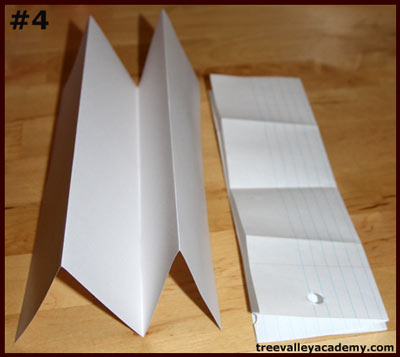
Step 4
- It should look something like this:

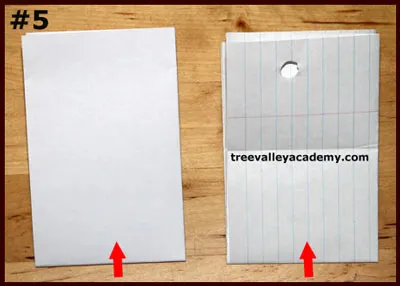
Step 5
- Fold in half as shown.

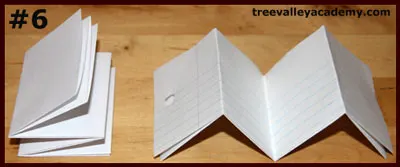
Step 6
- Fold each half (top half and bottom half) in half again. It should look like the image.

Step 7
- The scrap paper can be cut on fold creases if desired, as needed.
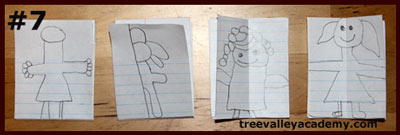

I wanted my daughter to draw her own doll, and this took several attempts before we had one we could use. We used the scrap paper for her attempts, since each rectangular area outlined by the creases of the folds, was the size her doll needed to be.
Her doll design needed to fill out the whole space, have good connecting areas, and not have a lot of details (since we will be cutting this out). It also needed to be somewhat symmetrical. After a few attempts, I began to fold the scrap pieces in half so my daughter could see where the line of symmetry needed to be.
Once she drew a doll that met all the needed criteria, we cut the doll along the line of symmetry, and kept the best half of the image.
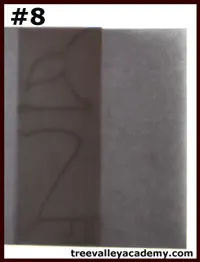
Step 8
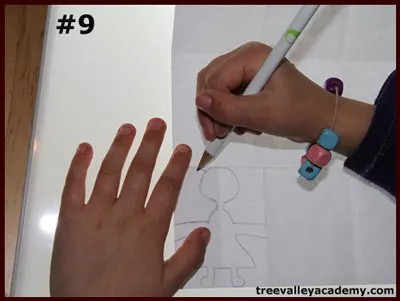
- We used a light table to help us trace the image onto the folded good sheet of paper. The half image can be flipped over and traced to make a complete symmetrical doll. You’ll want to take a moment to decide the direction (head up or down) you wish your dolls to be for each row, and place your half image in the direction that matches your choice.

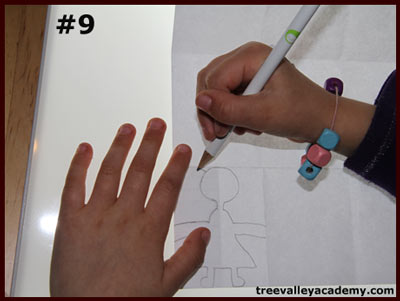
Step 9
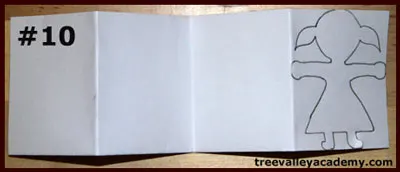
Step 10
- It should now look something like this.

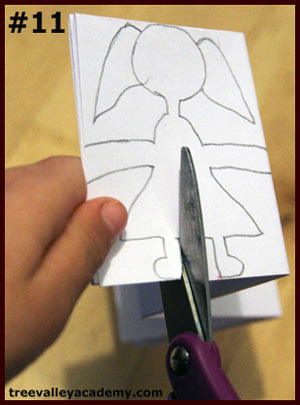
Step 11
- Time for cutting. Since my daughter’s still young, I did most of the cutting part myself. As it would be much too thick to cut through all the layers at once, I only cut one layer at a time, beginning with the top layer. Be careful not to cut the connecting areas.

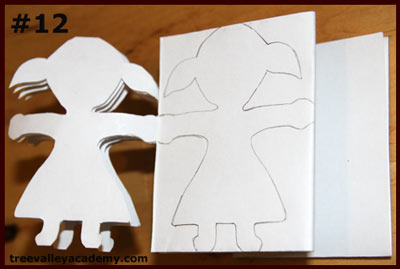
Step 12
- After cutting the first layer, you can flip it on the 2nd layer for tracing. Then cutting that layer.

Step 13
- Continue the above step through until you’ve completed each layer.
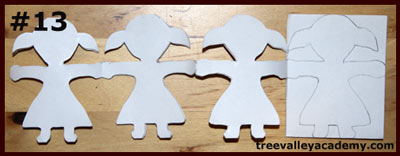
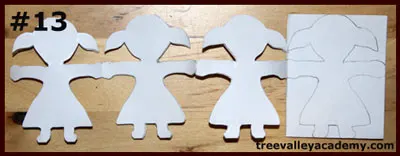
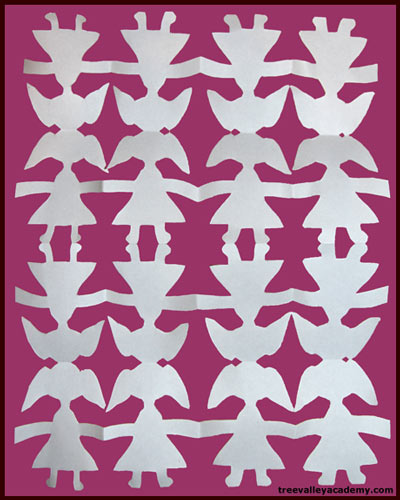
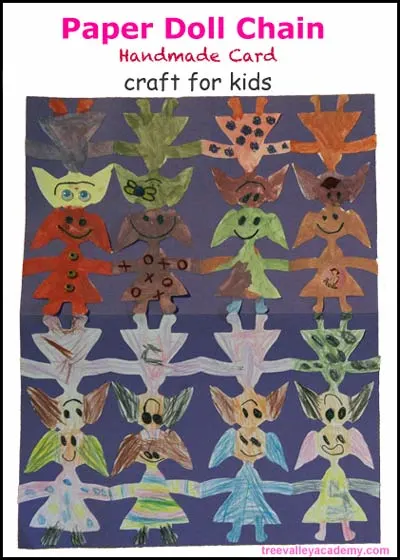
My finished paper doll chain:
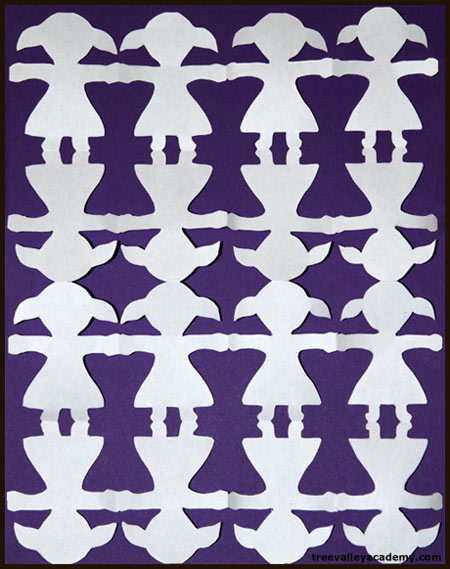
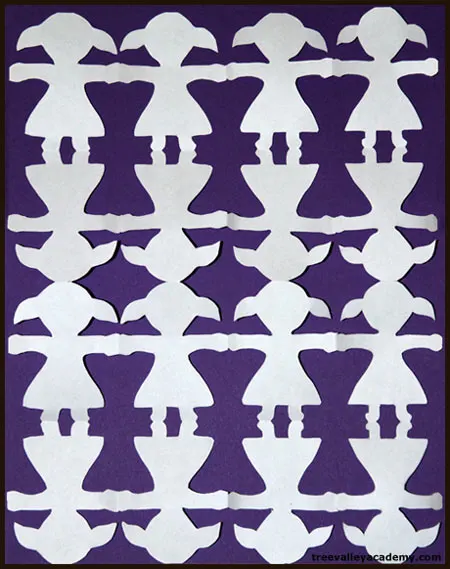
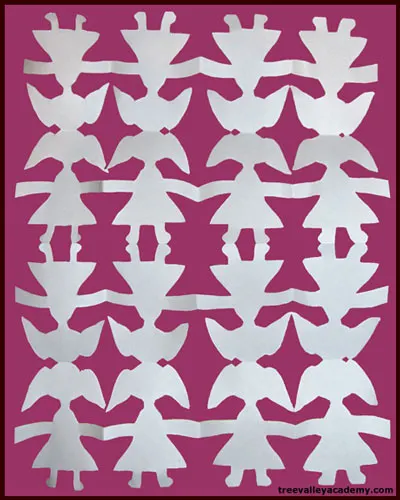
My daughter’s finished paper doll chain:
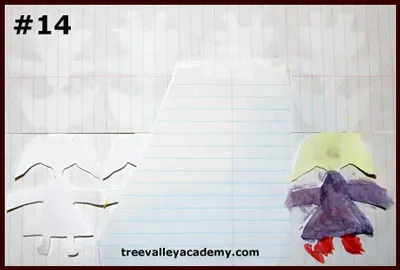
Step 14
- Time for some fun designing each dress. My daughter chose to paint 2 rows of dolls (one side of the card), and use pencil crayons for the other side of the card. Great opportunity for me to teach her about masking when painting.

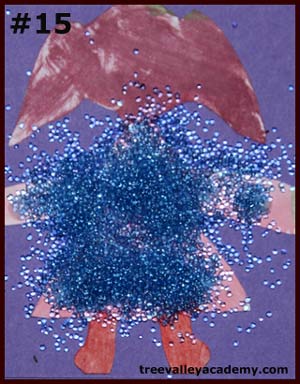
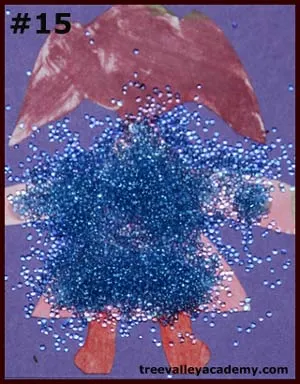
Step 15
- After the paint was dry, I dug in my stash of craft supplies, and helped my daughter with ideas for embellishing her dresses.
After our paper doll chain was complete, we glued it on a folded card stock. It was then ready for my daughter to practice her writing skills and learn the joy of giving her handmade creation to a person of her choice.

Learning Kid Link-Up #16
Thursday 22nd of October 2015
[…] PAPER DOLL CHAIN BY TREE VALLEY ACADEMY […]
Diona
Wednesday 21st of October 2015
Love this idea! Where did you get your light table?
Melanie Thomas
Wednesday 21st of October 2015
I believe I bought it from a major retailer art store. I used to have a rubber and polymer stamp business (art stamps). I originally bought the art table to help me when designing images to turn into stamps. Now we use it sometimes for arts and crafts in our homeschooling. :)
Irina Vakulchik
Wednesday 7th of October 2015
I love these paper dolls. I will be doing this with my younger two today. I love all the colors and the different outfits your daughter used for her paper dolls. Great time to teach about friendship and how God created everyone different. To me it looks like lots of friends holding hands..