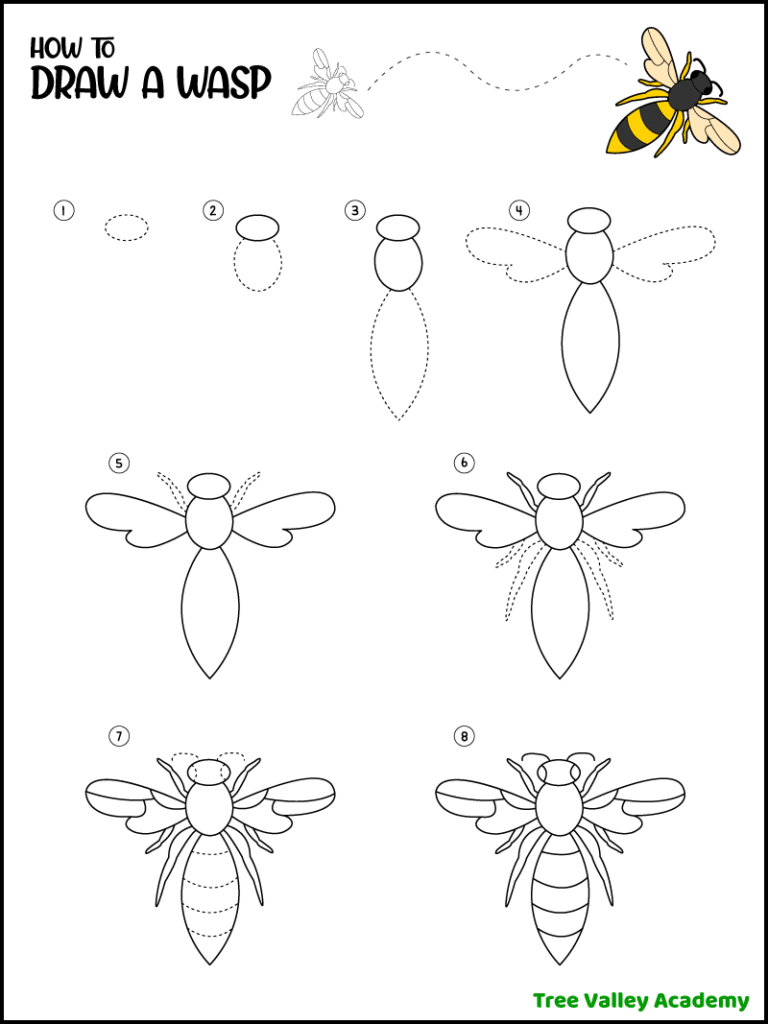
Here’s a step by step tutorial on how to draw a wasp in 10 easy steps.
A free pdf with the simple instructions are also available for download and print.
Grab your pencil and paper and we’re going to draw the flying insect from its top view.
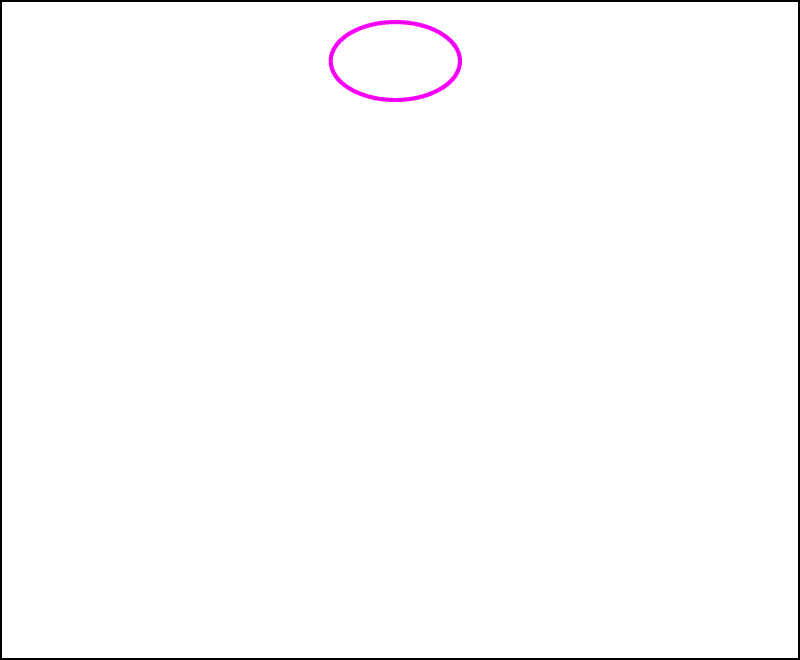
Step 1: Draw the Head
Begin by drawing a small oval for the head.
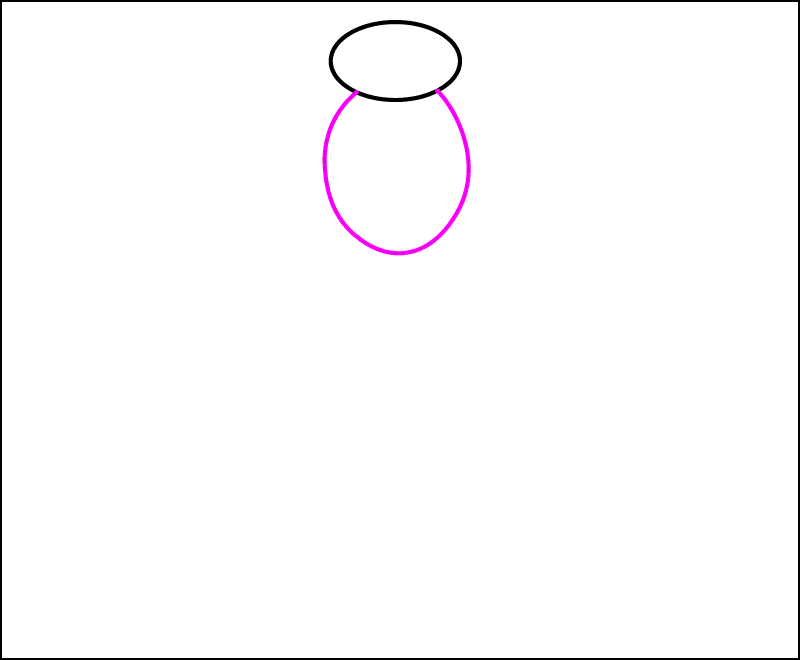
Step 2: Draw the Thorax
Add the thorax.
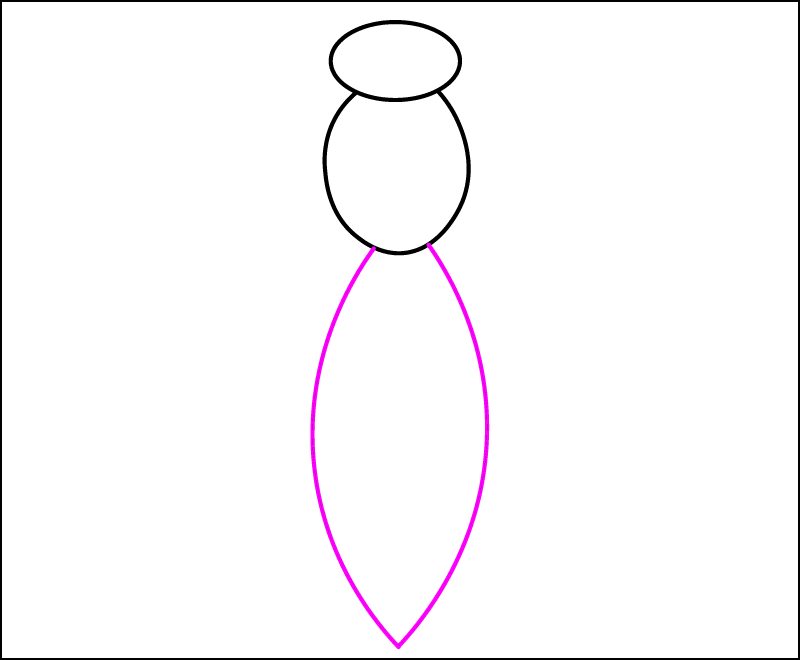
Step 3: Draw the Abdomen
The wasp’s abdomen is below the thorax. The curve shape ends in a point where the stinger would be.
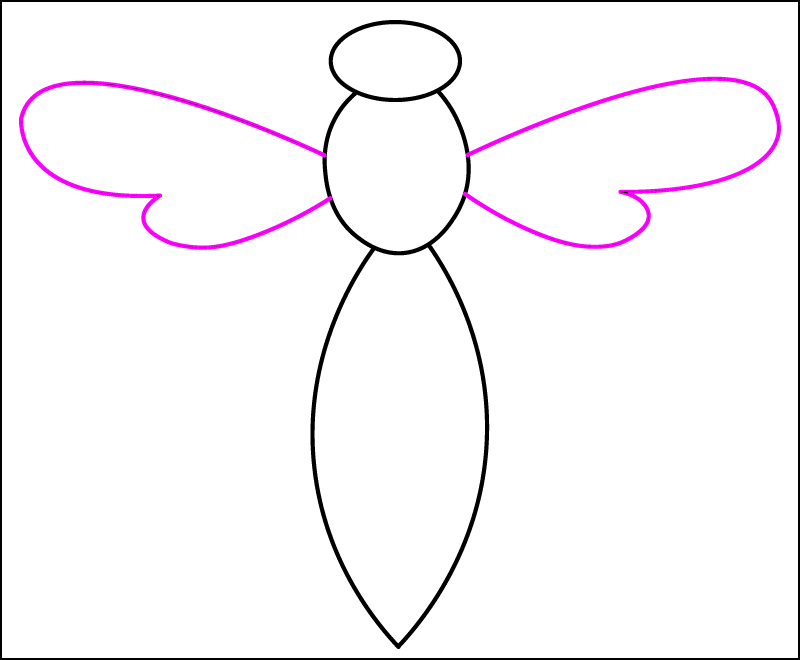
Step 4: Draw 2 Wings
The wasp’s wings attach to the middle of its thorax.
Each wing is composed of a larger forewing and a smaller hindwing.
Step 5: Draw 2 Front Legs
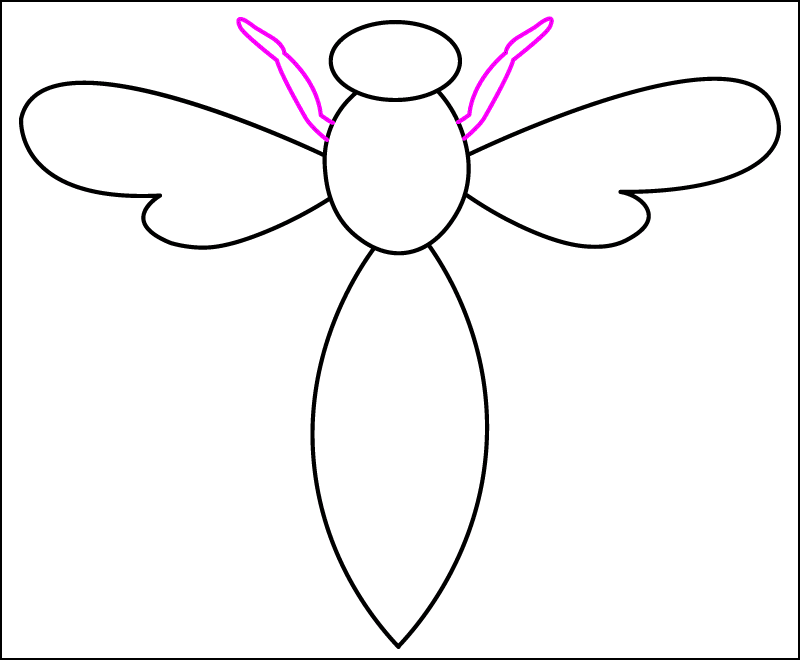
Between each wing and head, draw a leg from the thorax.
The legs should not go too far past the front of the head.
Step 6: Draw 4 Back Legs
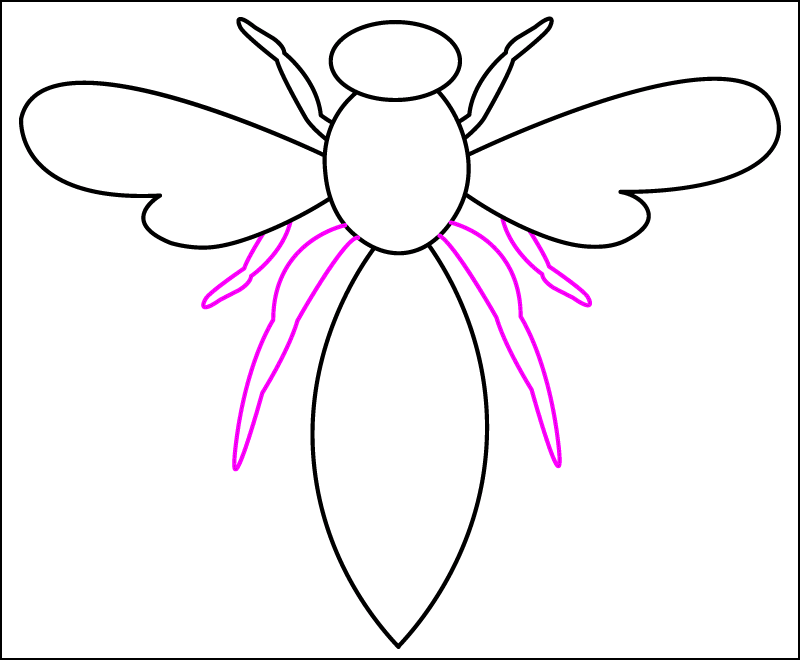
Next, draw the two longer legs from the thorax.
And a shorter leg can be drawn from behind each wing.
Step 7: Draw Detail on the Wings
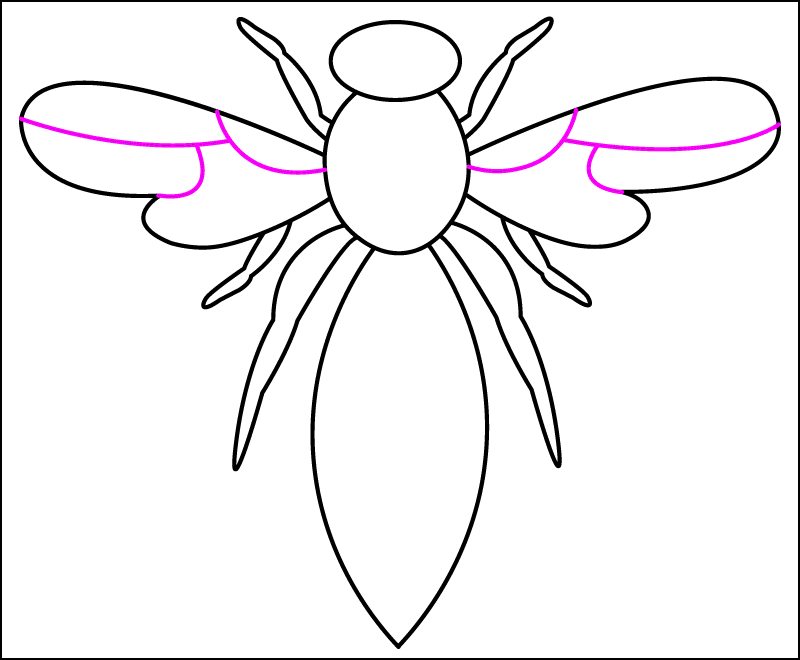
There’s a variety of ways to draw the detail. We are drawing it with 3 curved lines:
- Draw an arc inside each wing. Begin from the edge of the thorax (about a third of the way down the wing span) to the front of the wing.
- Draw a curved line from the arc you just drew to the outside edge of the wing.
- From that line, draw another curved line to the point where the 2 sections of the wing meet.
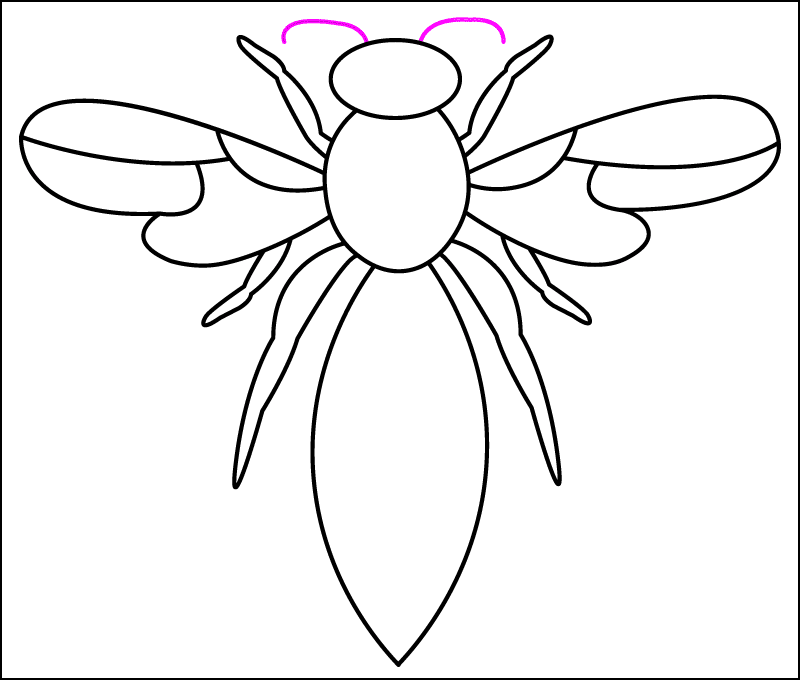
Step 8: Draw the Antennae
Draw 2 downward arcs at the top of the wasp’s head.
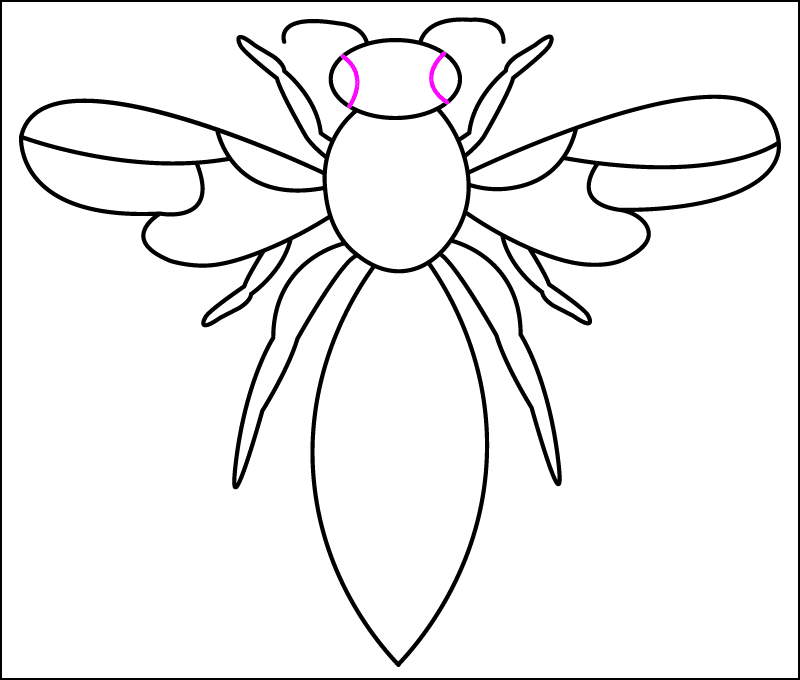
Step 9: Draw 2 Eyes
To draw the wasp’s eyes, on the left and right side of the wasp’s head, draw an outward facing arc on each side.
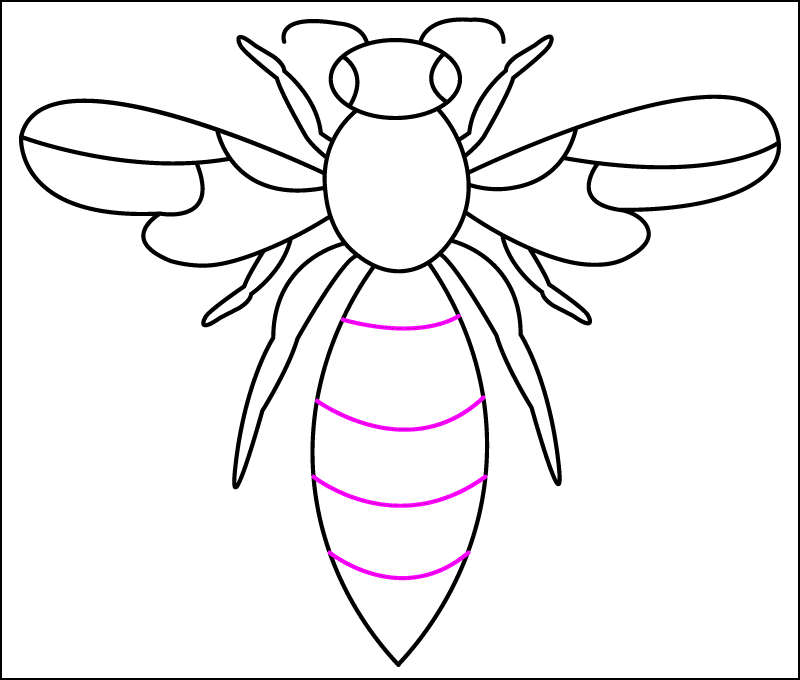
Step 10: Draw Stripes on the Abdomen
Draw around 4 curved lines on the abdomen, for the stripes.
How to Draw a Wasp Downloadable PDF
A free printable one page pdf with the step by step instructions is available for download below.
